Switching between Fahrenheit and Celsius temperature readings is simple and can be done by pressing a few buttons in the correct sequence. Please see the video above for a step-by-step walk-through of how to set your preferred temperature metric.
Alternatively, you can follow the numbered steps below that highlight the main steps you need to take to set your desired temperature reading properly.
Switching Between Fahrenheit and Celsius
Follow the instructions below:
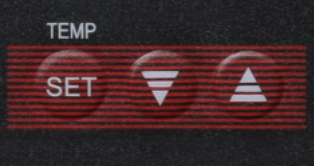
- Hold down the red “set” button until the top number resets
- Then, press the red “up arrow” button until it reaches “88” (you should hear a loud “beep” noise when this number is set)
- Afterward, keep pressing the set button until you see “CF”
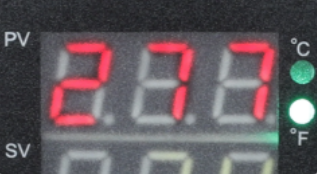
- When the green number reads “0” it indicates “Celsius” and when it reads “1” it indicates “Fahrenheit” (keep in mind that you can switch between temperature metrics using the red up and down arrows).
- Finally, press and hold the set button once more to save your temperature settings.
Important Tip: There are two vertical indicator lights to the right of the panel. A red indicator light reveals “Celsius” and a green one indicates “Fahrenheit.”
The Silicone Gel Baseboard
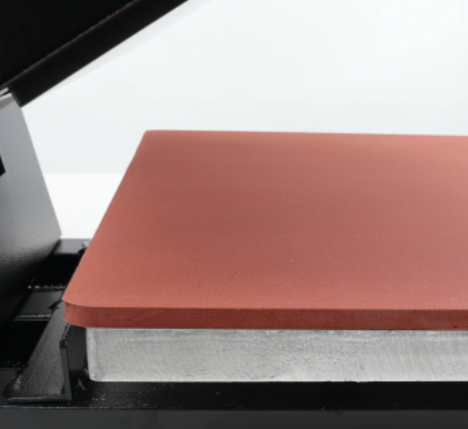
Your Ikonix flat heat press has a silicone gel baseboard (also called a platen) that is very high-temperature resistant and can endure temperatures of up to 575˚F/301℃. You can set the temperature as high as you want without worrying about overheating your board and burning the silicone.
Important Panel Features
The Timer: Heat Platen Thermometer:
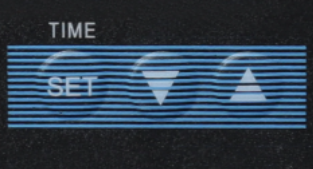
The Timer: Set the amount of time you want to press your garment for with the built-in electronic timer. That way, you don’t have to set up a separate timer on your phone or other devices.
The Heat Platen Thermometer: This thermometer ensures you know the temperature of your platen, reducing the chance of damaging your items.
Adjustable Thermostat: Heat Indicating Light:
Adjustable Thermostat: Choose the specific temperature you want to set with the Ikonix’s adjustable thermostat. It can go as high as 480˚F/249℃, covering all types of temperatures needed for various heat transfer applications.
Heat Indicating Light: The heat indicating light is a safety feature that lets you know if the heat press is on and hot. With this light, you won’t mistakenly think the heat press is off, preventing you from burning your garments or yourself.
Need Additional Assistance?
If you are having difficulty setting your desired temperature reading...
Please don’t hesitate to reach out to us for further assistance via email at service@ricoma.com or by visiting our support page at www.ricoma.com/US/support